Protect Your Volkswagen Tiguan: The Top 5 Reasons Every Dog Owner Needs a Boot Liner
- By Hatchbag Team
- 14 Apr 2025
Transporting your pets in your Tiguan is essential for the best adventures. This however, can lead to muddy paws and overall mess in your car. Every journey is made better with your furry friends by your side, but your car’s interior can often face the brunt. Investing in a quality boot liner minimises these annoyances. A Hatchbag boot liner not only protects your Tiguan, but can also provide a comfy ride for your pets. In this blog, we’ll look into the top five reasons why every dog owner should invest in a boot liner, helping your Volkswagen out and keeping your pets happy. Heading on a dog walk or taking a weekend trip? It is necessary to protect your car’s interior to ensure your vehicle gets the best resale price. Embrace adventure without compromising on comfort or cleanliness!
Reason 1: Protection from Scratches and Damage
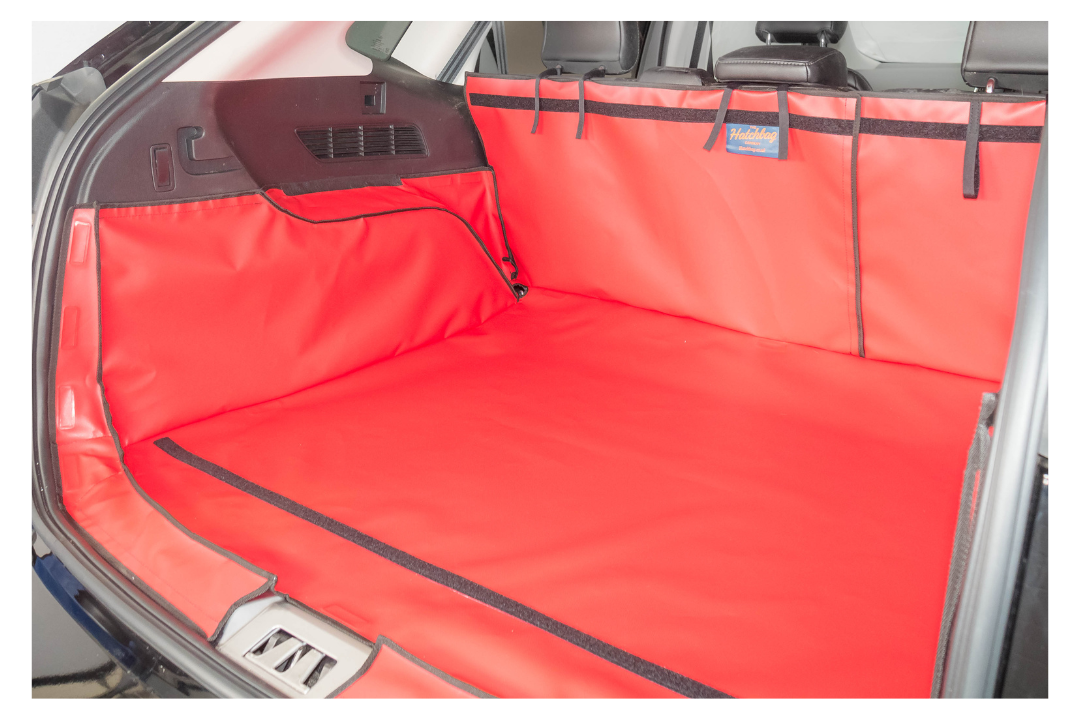
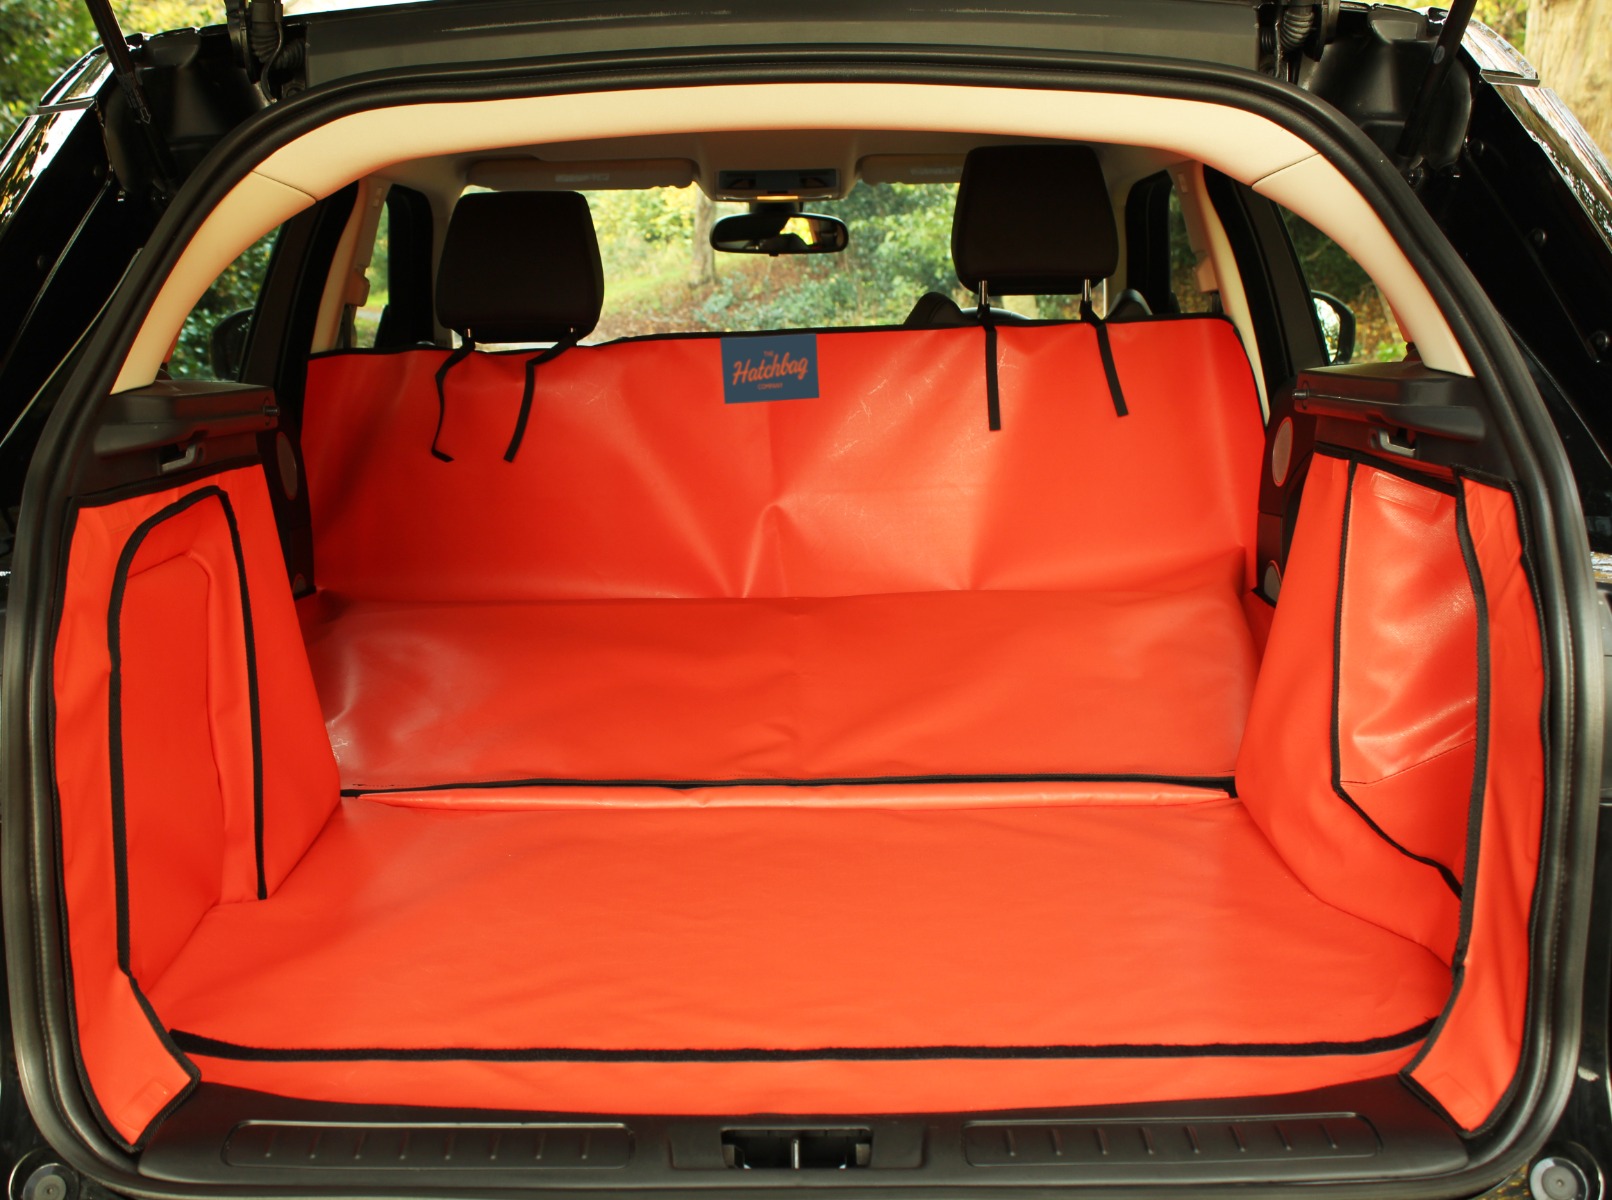
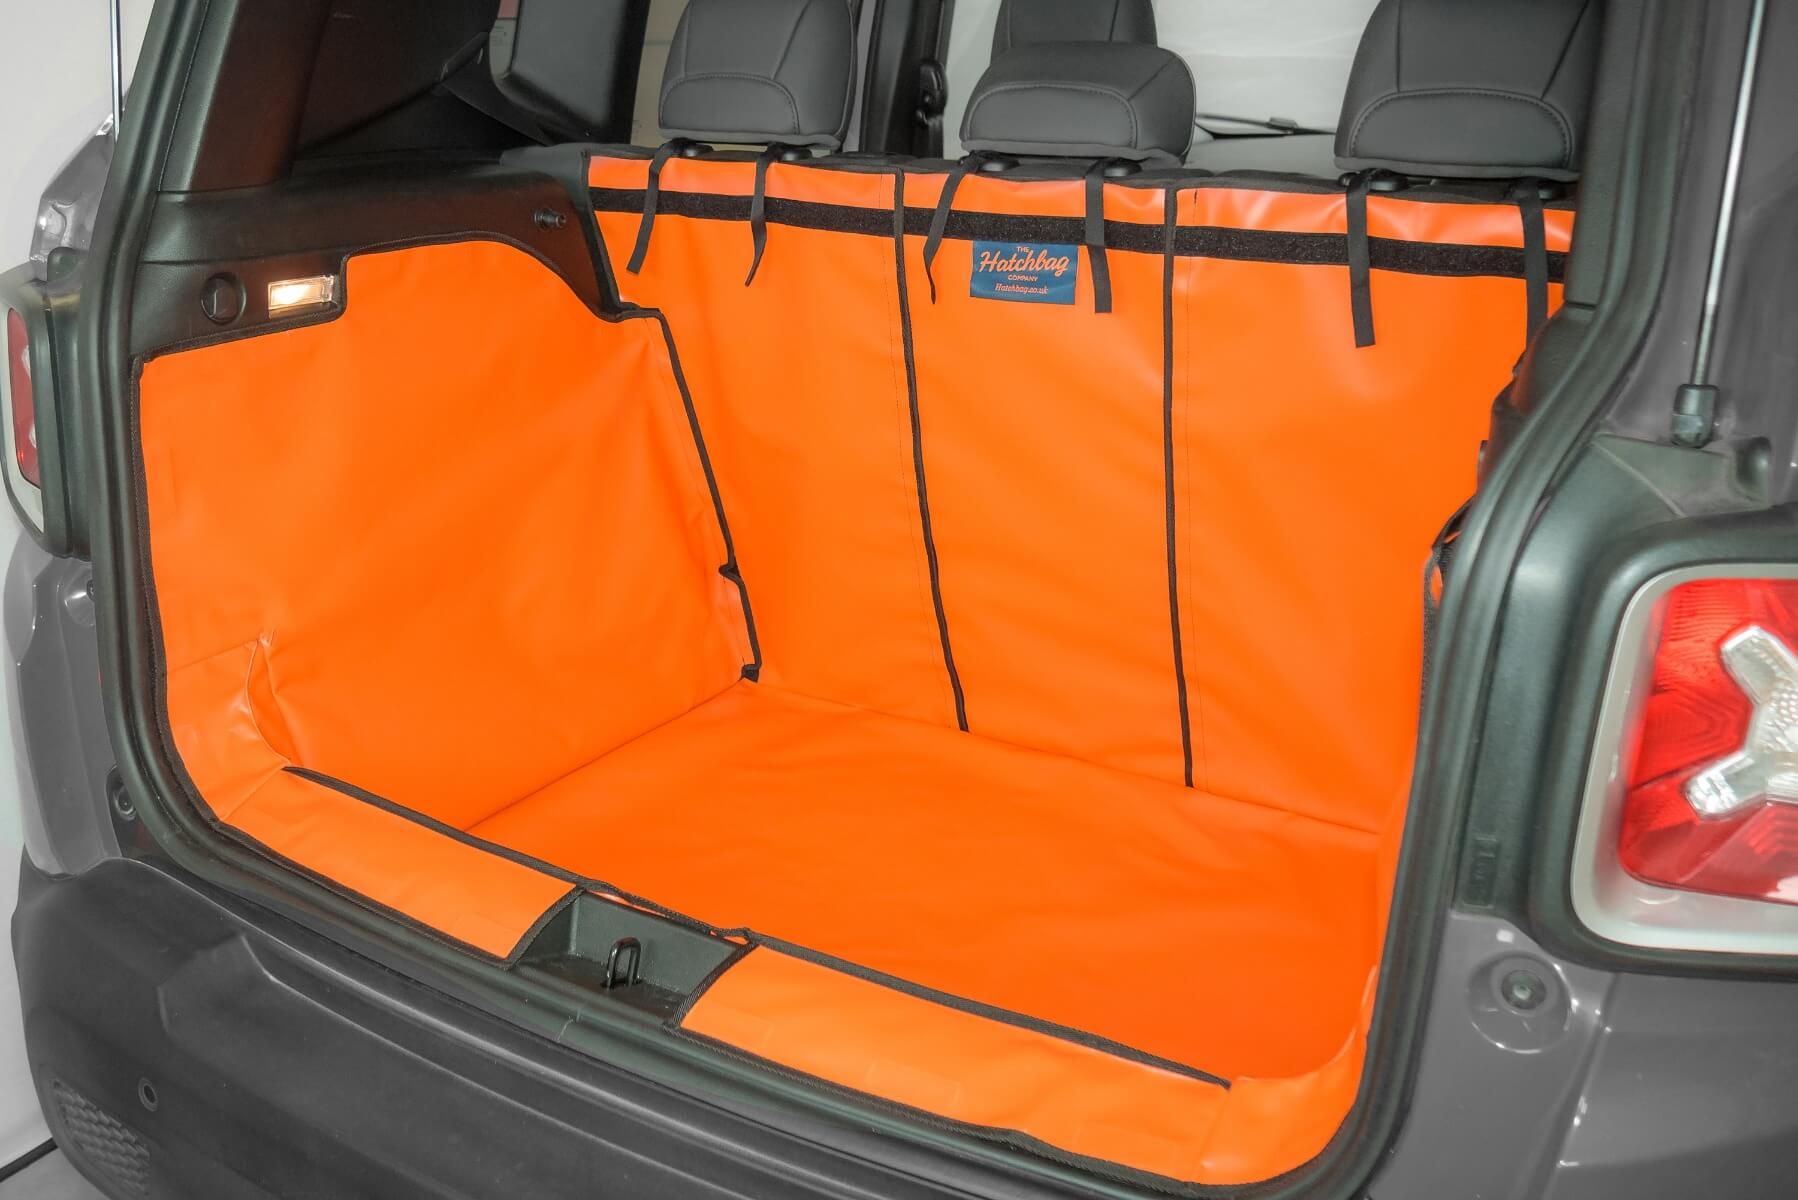
Any pets can cause damage to your vehicle’s interior. Claw marks on surfaces and shedding pet hair all contribute to a worn down boot that needs some TLC. Without a boot liner in place, the boot of your Volkswagen Tiguan is susceptible to damage that may lead to expensive repairs. A durable Hatchbag boot liner acts as a barrier for your boot, receiving any impact or damage that would usually end up ruining your car’s interior.
In addition to claw marks and other pet issues that could damage your boot, there are other pet related factors that could compromise your Tiguan’s boot space. Heavy and sharp objects such as crates and dog guards have the ability to dent, mark and scuff your boot during transportation. The Hatchbag boot liner is the second skin of your boot that absorbs the impact. Having this protection guarantees your Tiguan’s boot remains perfect, just like the day you bought it.
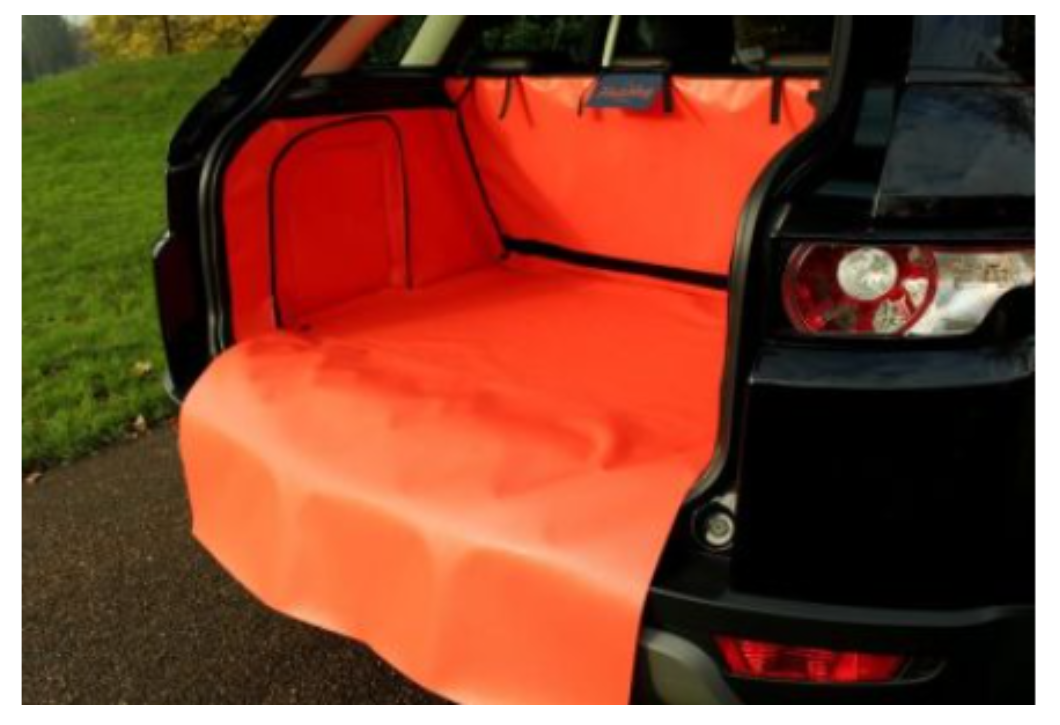
With the physical damage to your boot associated with transporting a pet, a Hatchbag boot liner will also protect against liquids that spill or could stain your boot carpet. Whether it's muddy water that has been trapsed in by your pet or spillages, these liquids can damage your vehicle’s interior permanently, leaving stains and odours. The Hatchbag boot liner is water resistant, creating a barrier that prevents liquids from seeping into your car. This also makes the clean-up straightforward and quick. Having an added layer of protection ensures your Tiguan stays in perfect condition.
Reason 2: Easy Cleaning and Maintenance
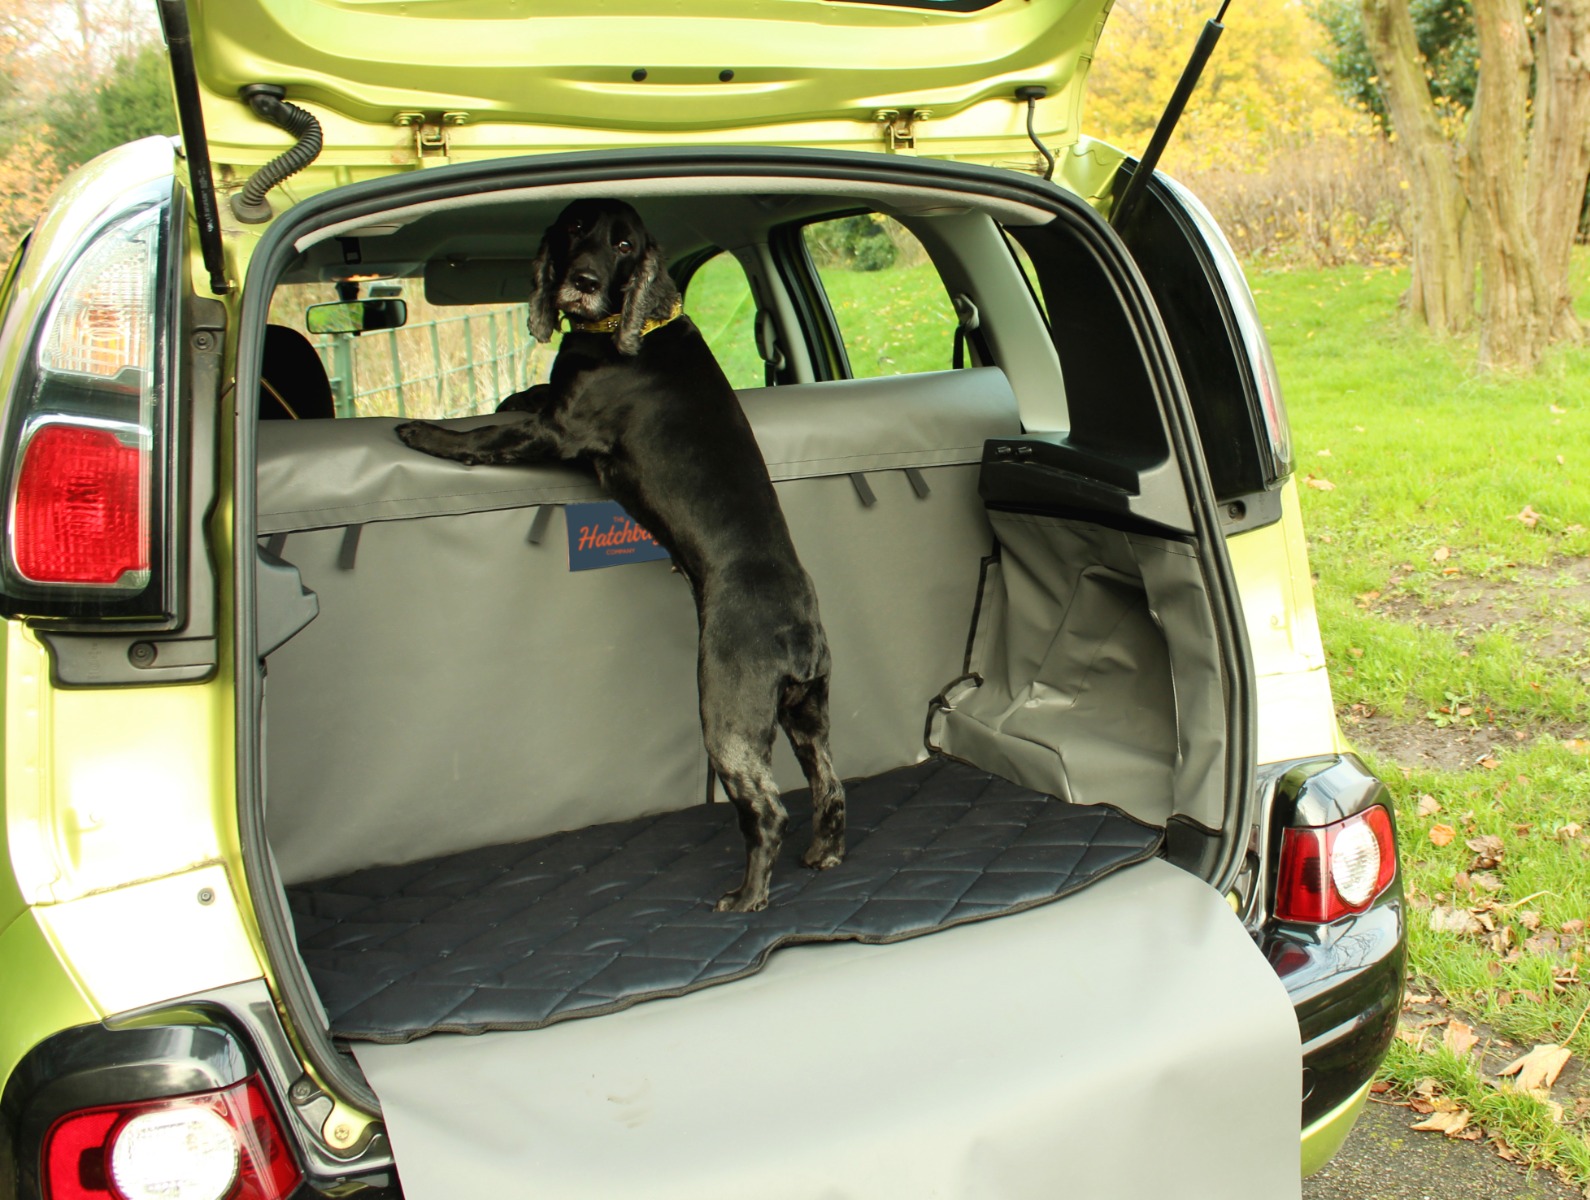
One highly beneficial part of having a boot liner is that it is easy to clean and maintain. Pet owners are very familiar with fur embedded into the boot carpet and dirt from your pets paws leaving difficult to clean stains. Having a boot liner helps you out, as you no longer have to spend hours cleaning your boot. The Hatchbag boot liner is made out of fibre reinforced PVC, which is water resistant and can be quickly and easily wiped clean. Say goodbye to hoovering and scrubbing your boot, the Hatchbag boot liner keeps your Tiguan pristine.
Hatchbag boot liners can also be cleaned in situ. Our liners don’t need to be removed from your Tiguan and put in the washing machine, simply get some soapy water and gently apply pressure to dirt and stains. The boot liner is taking the brunt of the mess in your Tiguan, creating a spotless boot with minimal effort.
Reason 3: Enhanced Safety for Your Pet
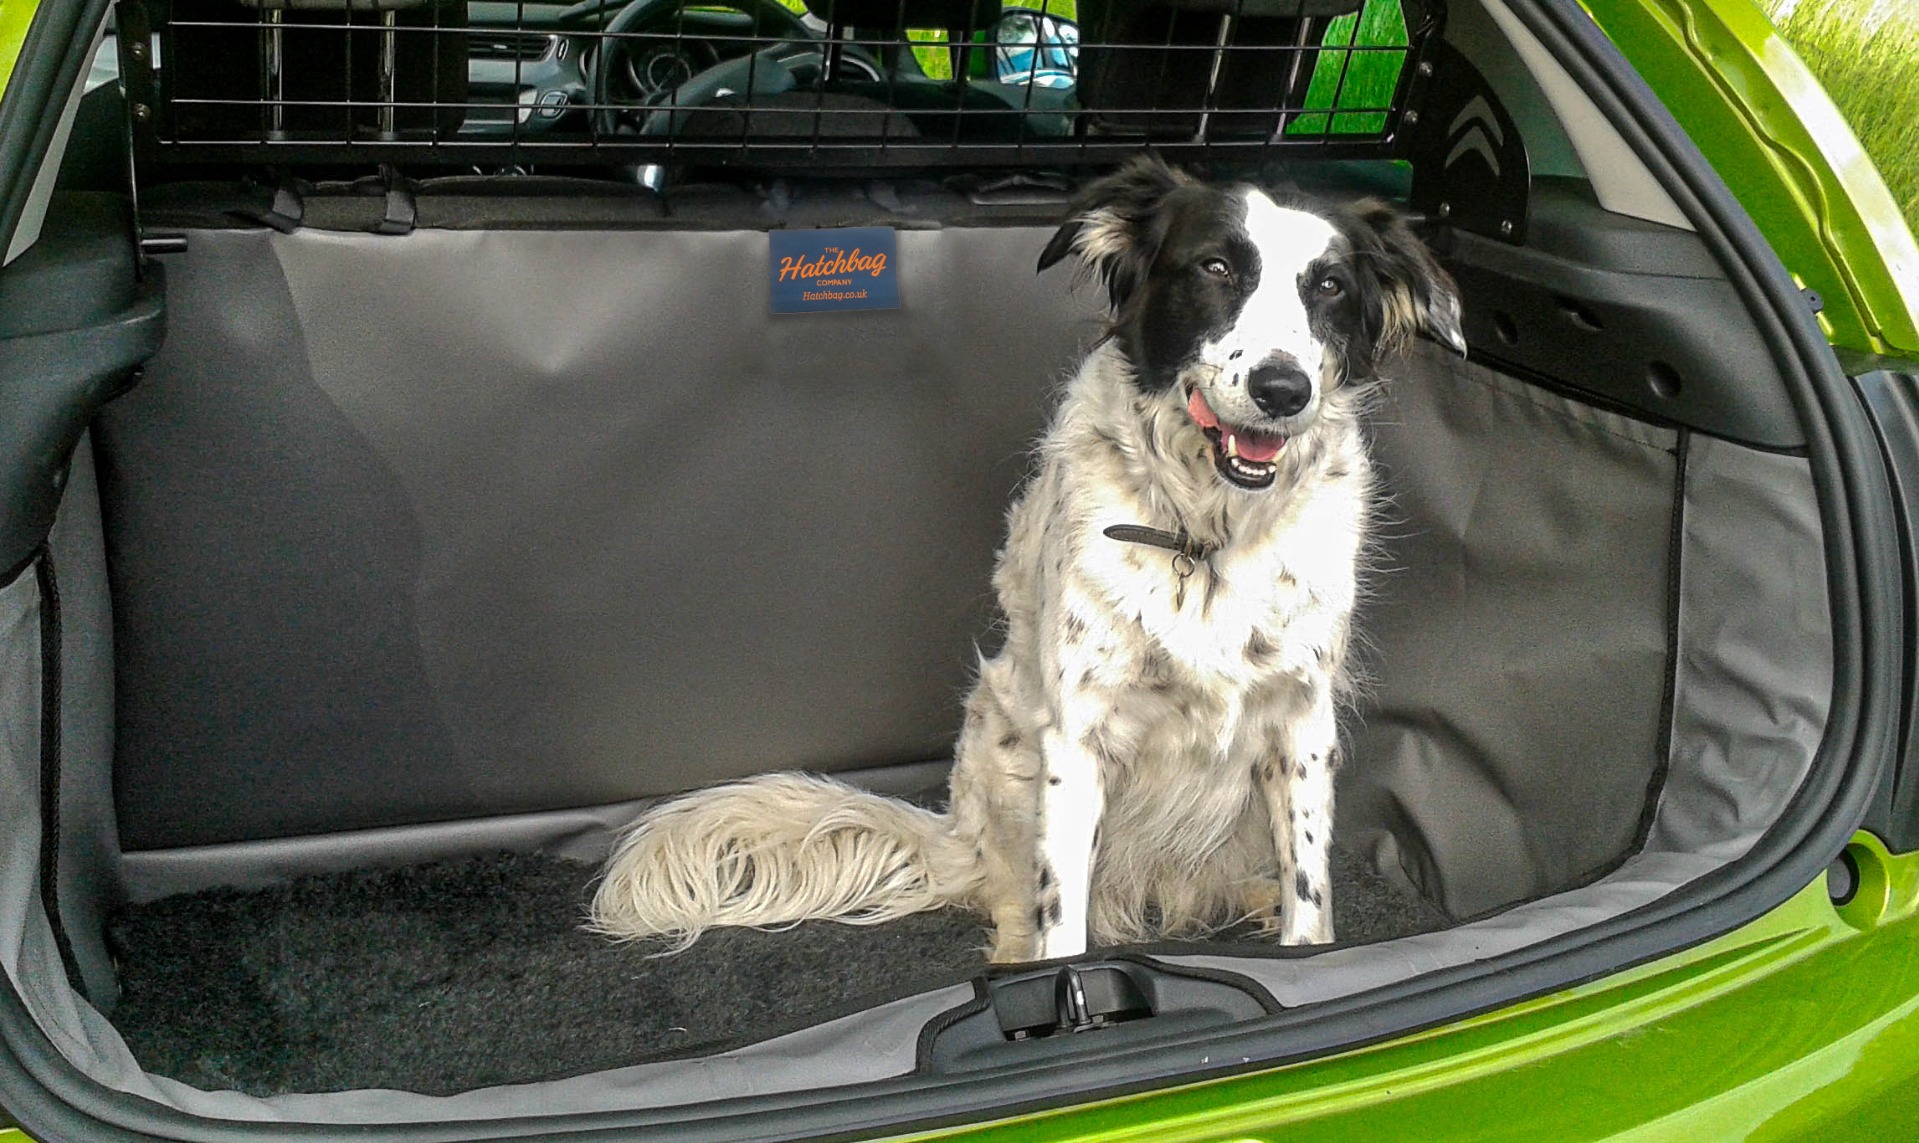
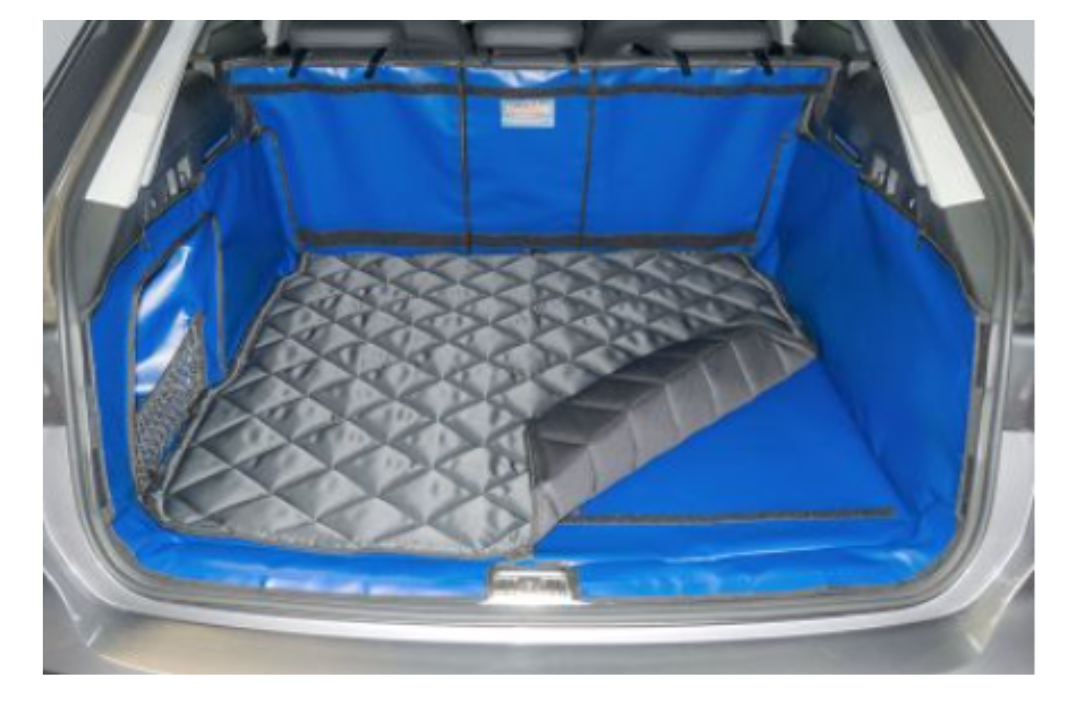
Making sure your pet is secured in your Tiguan is important when embarking on adventures. Hatchbag boot liners and accessories play an important role in keeping your pup safe on your journeys. The Hatchbag rubber mat, which can be added on to a Tiguan boot liner purchase, is an anti-slip mat. This helps to stabilise your pets on winding roads and keeps them safe. No more worrying about sharp turns or abrupt stops, your pet is protected in your Tiguan.
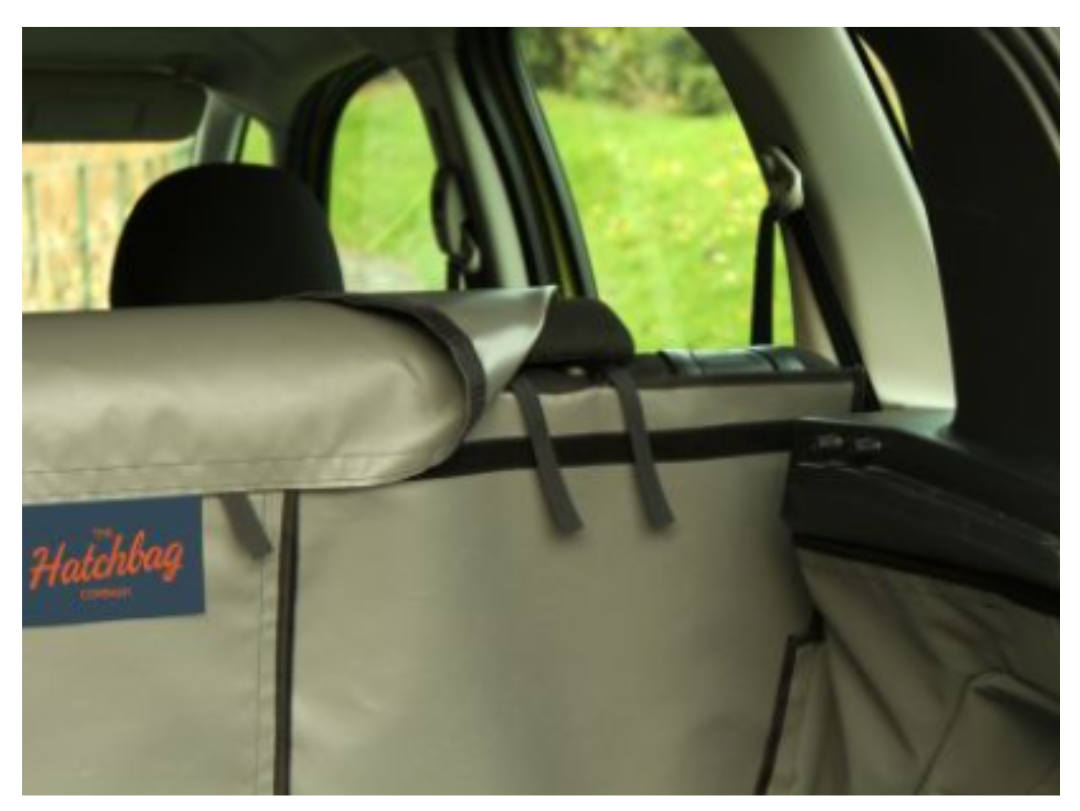
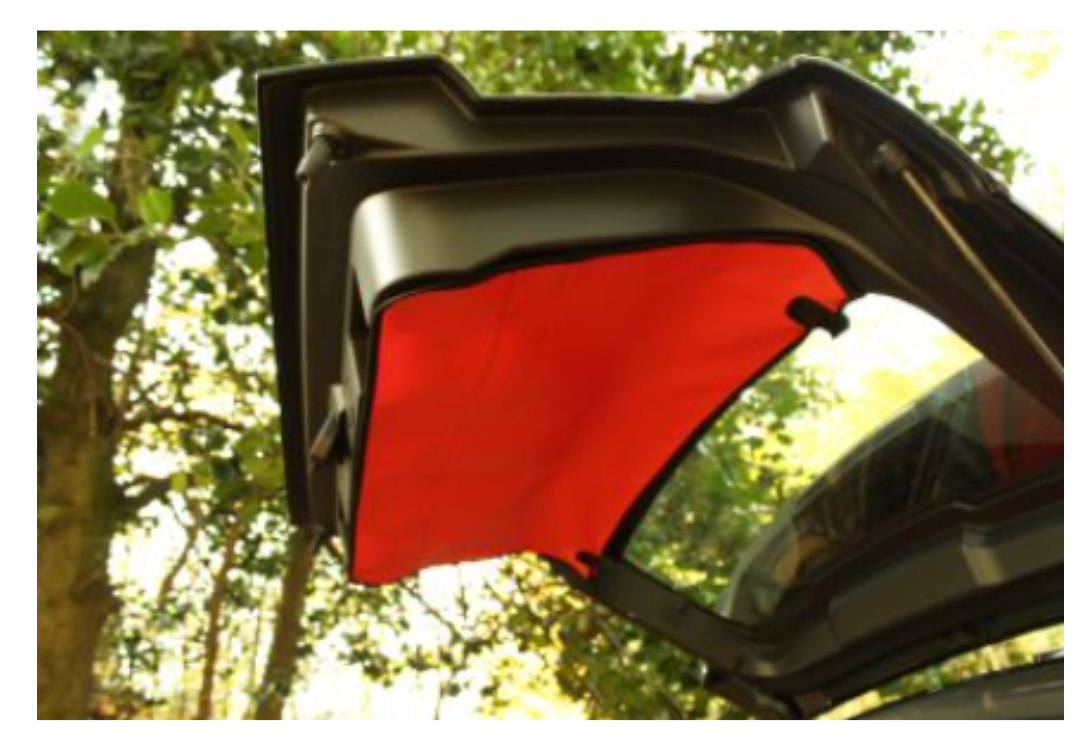
Additionally, a Hatchbag boot liner can be used in conjunction with certain pet safety accessories. Specific crates and guards can be placed in your Tiguan to further enhance pet safety. You can get front D-Ring access on many of the Tiguan models that Hatchbag offers, allowing you to attach dog guards and crates that help your pet stay secure on your travels. Choosing a Hatchbag boot liner is a step in the right direction if you want to prioritise dog safety in your Tiguan.
Reason 4: Preventing Odours
Odour control is a top priority for any Tiguan owner. Pesky pet smells can linger in your car and remain in your boot carpet forever. This leads to a less than pleasant driving experience, something Tiguan owners don’t want! With odours permeating your vehicle, a Hatchbag boot liner is the simple solution to combat this. A boot liner is a barrier for your Tiguan, preventing the embedding of odours in your boot. This will help to keep your car smelling fresh.
If you are looking for a little bit more to fight off those odours in your Tiguan, the Hatchbag odour mat is a great addition to consider. The odour mat is made with activated carbon, proven to minimise odours. With pets jumping in to your boot after a long and muddy walk, odours are inevitable, so investing in Hatchbag is a great way to safeguard your Tiguan from those lingering smells.
Reason 5: Tailor-Made Fit Increases Resale Value
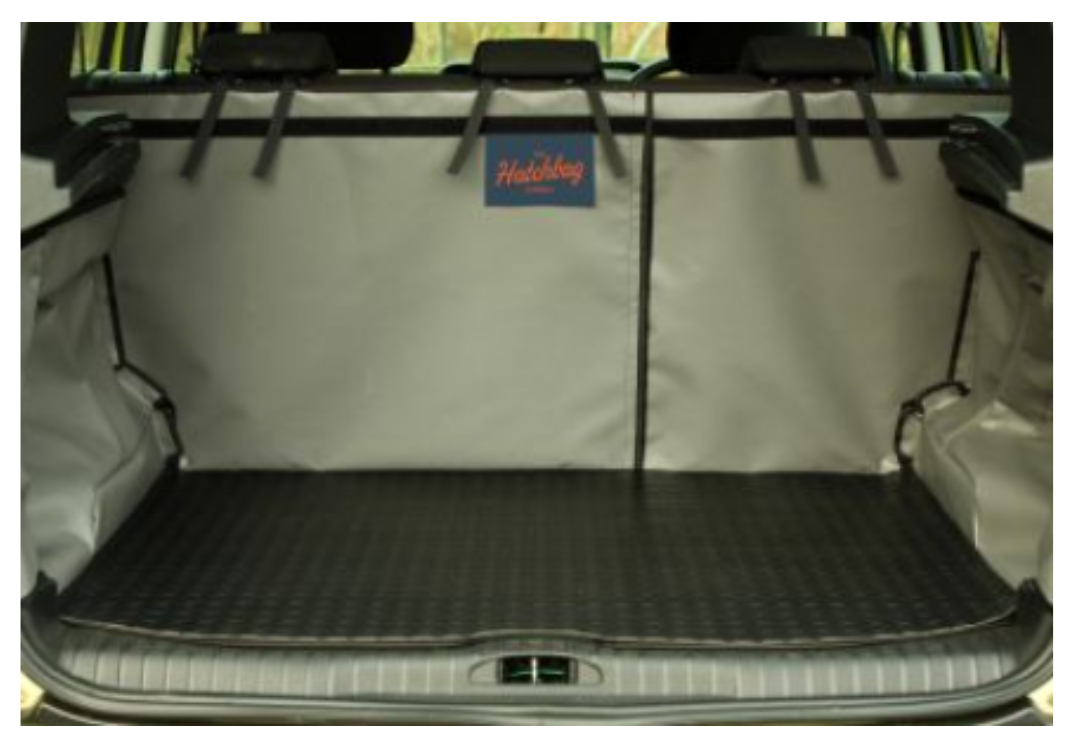
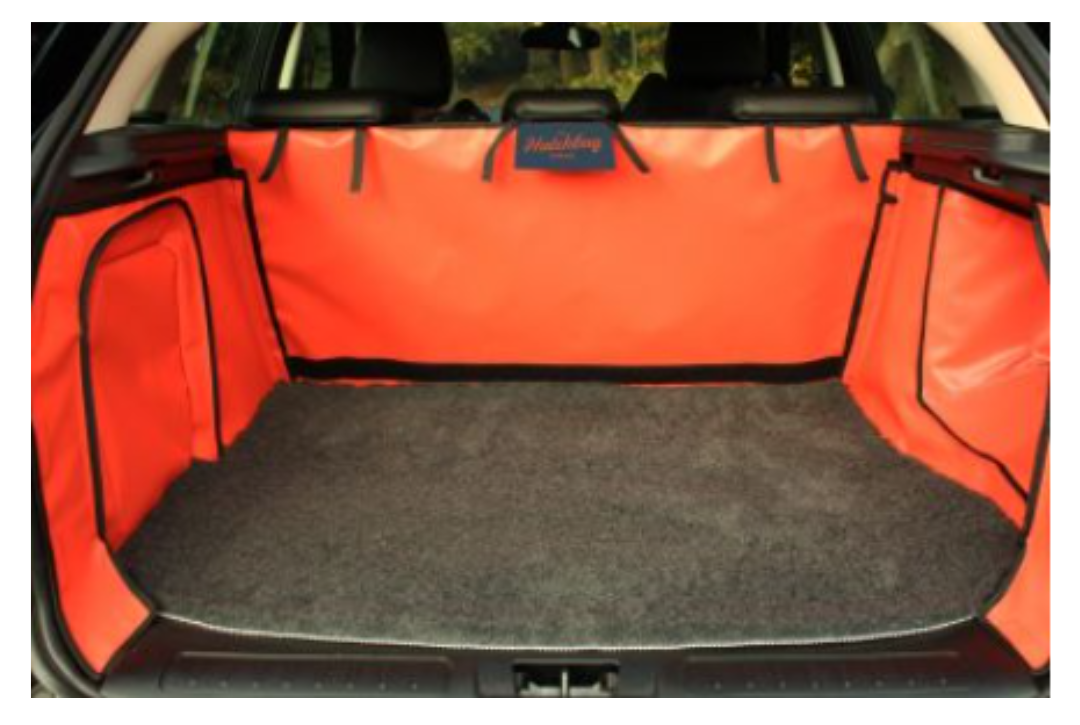
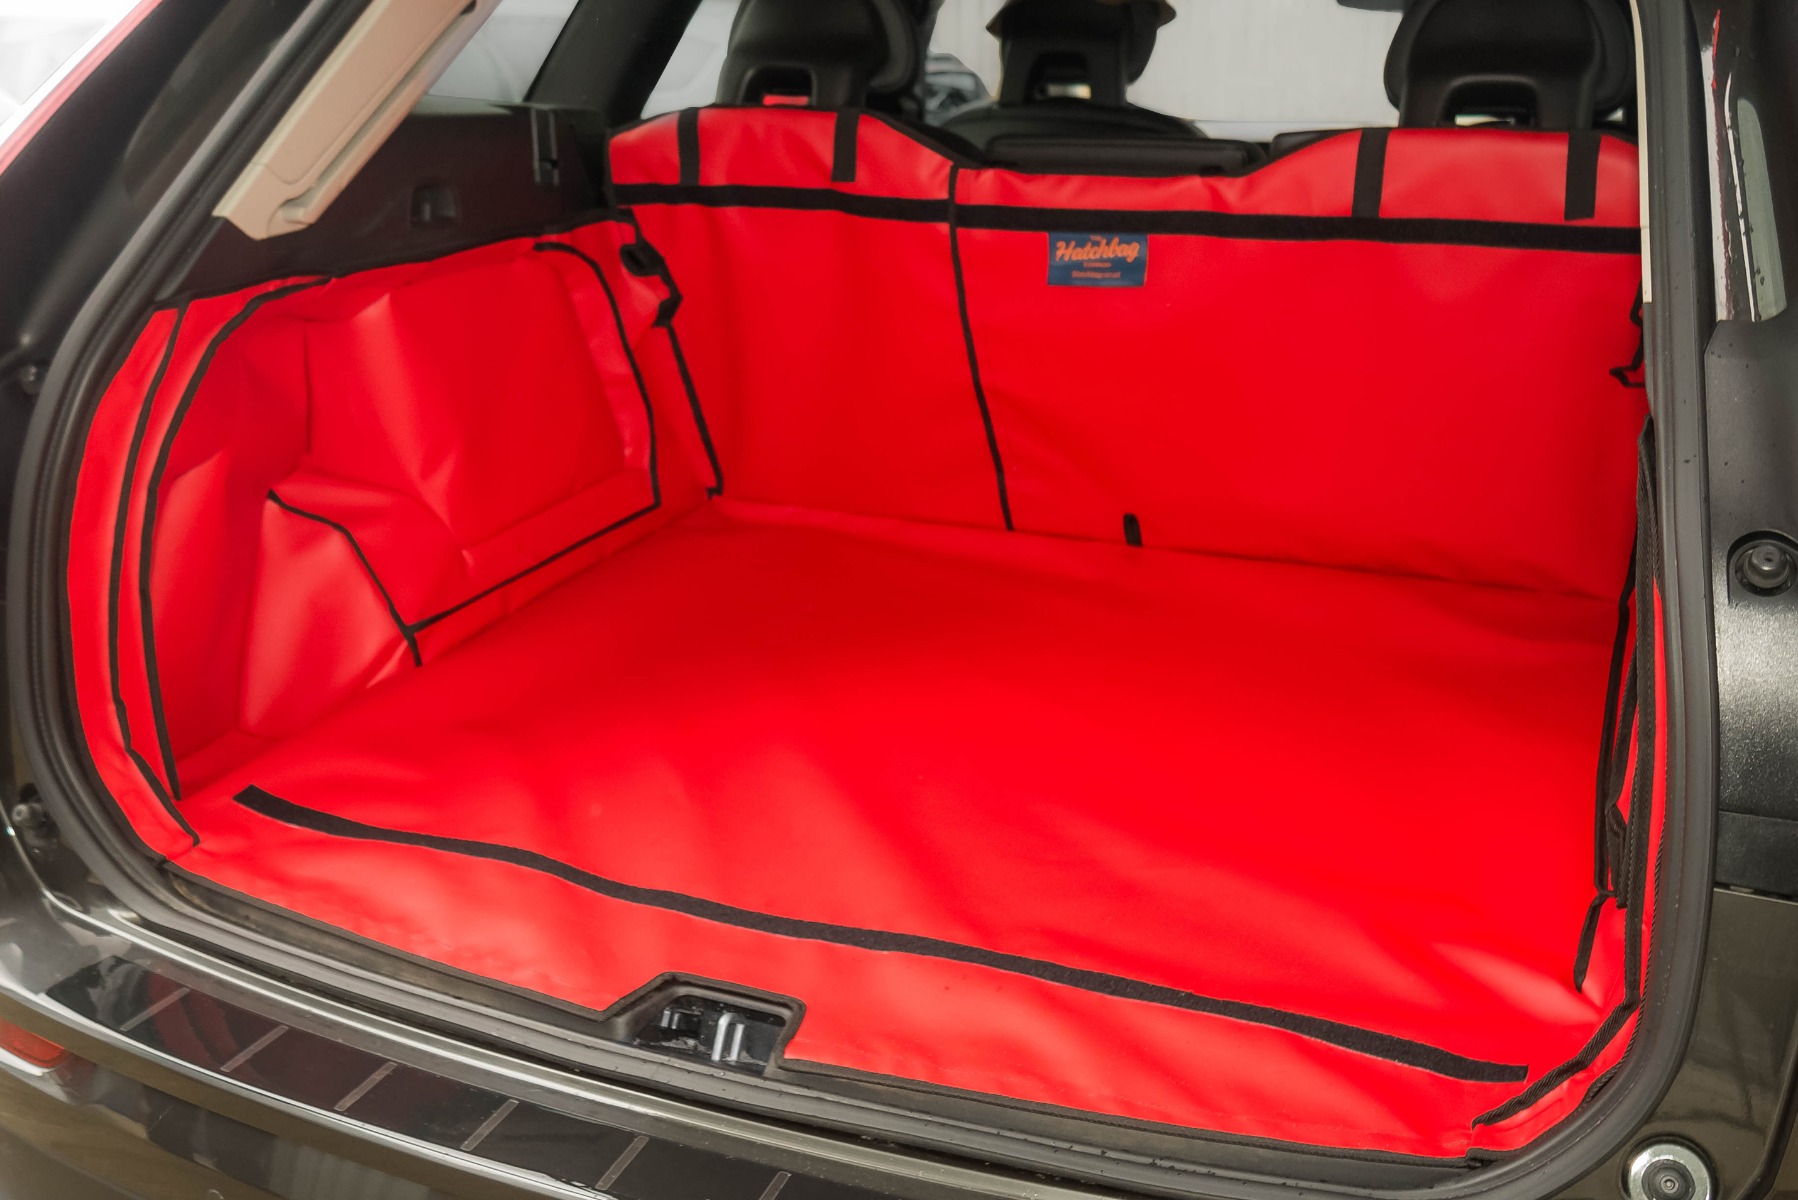
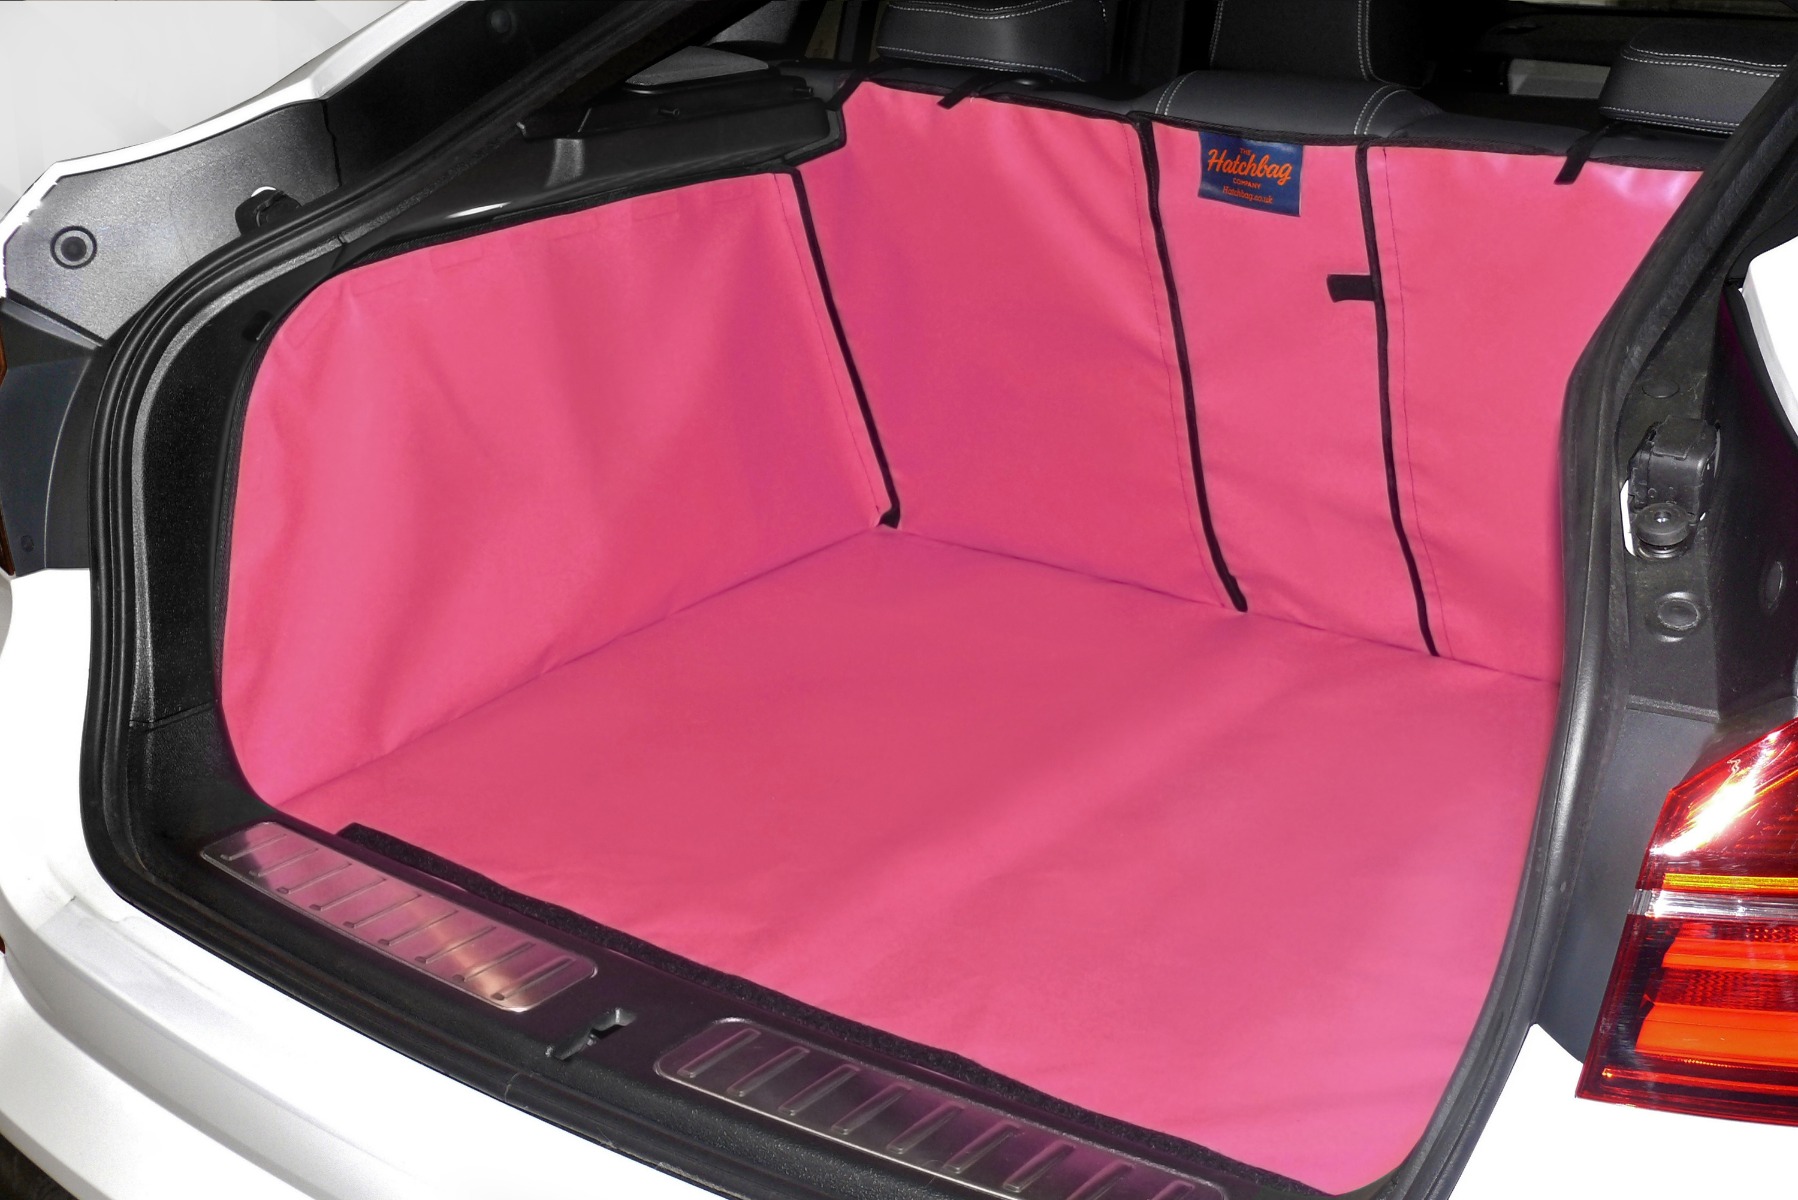
We place an emphasis on the Hatchbag boot liner being tailor-made to fit the exact dimesnions of your boot. We can guarantee that your boot liner will fit the exact dimensions of your Volkswagen Tiguan. Unlike universal liners on the market that don’t provide a perfect and seamless fit, custom made Hatchbag liners guarantee a precise and extremely accurate fit. Having this precision in the fit of your boot liner ensures maximum coverage and protection for your boot, meaning any dog hair or muddy paws won’t come in contact with your Tiguan’s interior.
Having a tailor-made boot liner not only is aesthetically pleasing and extremely protective, they help out the resale value of your Volkswagen Tiguan when it comes time to sell. Having a custom fit boot liner for your Tiguan means that no areas are left exposed. In addition to this, any gapping between the boot and the liner that may occur with a universal liner, is not an issue with the Hatchbag boot liner. This boot liner is a second skin for your boot, meaning when you remove your liner and it is time to sell your Tiguan, any pet hair or muddy paw prints won’t be an issue, increasing the value of your Volkswagen.
Investing in a Boot Liner for a Happier Journey with Your Dog
Investing in a Hatchbag boot liner is the best way to keep your Volkswagen Tiguan’s interior spotless. When adventuring with your furry friends, you don’t want the hassle of constantly cleaning your boot and worrying about the odours they leave behind. A boot liner safeguards your Tiguan and provides essential protection from your pet's messes. By investing in a custom fit boot liner, you are promised maximum coverage and a perfectly protected boot, helping out your Tiguan’s resale value. Shop Hatchbag boot liners now and get the best defence for your Volkswagen Tiguan.